
Let's Launch a Crypto Exchange Brokerage Using Open-Source OpenDAX Ready for Yellow Network Liquidity
Build Your Own Crypto Exchange Using OpenDAX


Table of contents
How to Launch a White-Label Crypto Exchange with Built-In Liquidity?
If you’ve ever attempted or at least thought of creating your own crypto exchange, it takes little research to realize that it’s not easy. This is majorly because of two reasons, one is obtaining liquidity, and the other is having an experienced developer team.
Crypto exchanges are quite scarce, and their tech stack is mostly proprietary. This leaves us with two options, the first is making use of third-party libraries and components, which are often unmaintained, and the other is building your own exchange completely from scratch, which is a daunting task if you ask any developer.
But an even bigger problem is obtaining liquidity, and with Crypto, it is a “Chicken and the Egg” story. An Exchange is called liquid if it has an ample amount of buyers and sellers, and this means we need users to start with to get liquidity. But to get those initial users, we need liquidity, and this is where we are stuck in an endless loop.
Welcome, Yellow Network and OpenDAX
As we discussed earlier, we are dealing with two major problems here, the problem with liquidity and the problem with infrastructure; Yellow Network and OpenDAX solve exactly that. But how?
To start, Yellow Network is a Layer-3 decentralized overlay P2P network, which connects brokers together to form a giant Liquidity pool with shared order books, and solves the problem of getting liquidity to our crypto exchange altogether; other than that, it also brings in ultra-high-speed trading, which the crypto world has never seen before.
OpenDAX is short for Open-Source Decentralized Asset Exchange, and it is open-source software with a host of libraries to build literally any crypto trading application, and we will use it to create a Crypto exchange brokerage website. It has a customizable self-hosted platform, several templates, as well as an open-source OpenDAX WebSDK, which you can use to build some crypto projects of your own.
If all this sounds too good to be true, well, because it is. Yellow Network and OpenDAX together are taking web3 to a whole new level where starting your own Crypto brokerage is easy as cake. Gone are the days when you needed a huge capital and network to start your own exchange.
So, in short, Yellow Network can provide the liquidity, and OpenDAX provides infrastructure. In this series of articles, we’ll learn how to set up our very own Crypto exchange using the OpenDAX platform and connect it with the Yellow Network to obtain liquidity.
Before We Begin
To properly follow along to this tutorial, at the least, you need
- NodeJs on your computer.
- VS Code or an equivalent code editor.
- Basic understanding of JavaScript.
Starting Visual Studio Code
To launch VS Code, select a directory of your choice and open the terminal in that directory. If you’re on Mac, then in the terminal, type ‘code’ and hit enter - this should open up VS Code with the chosen directory.
But If you’re on a windows system, then press shift and right-click together; this will open up the right-click menu with an ‘Open PowerShell window here’ option. After opening PowerShell, type ‘code .’ and this should launch VS Code for the selected directory.
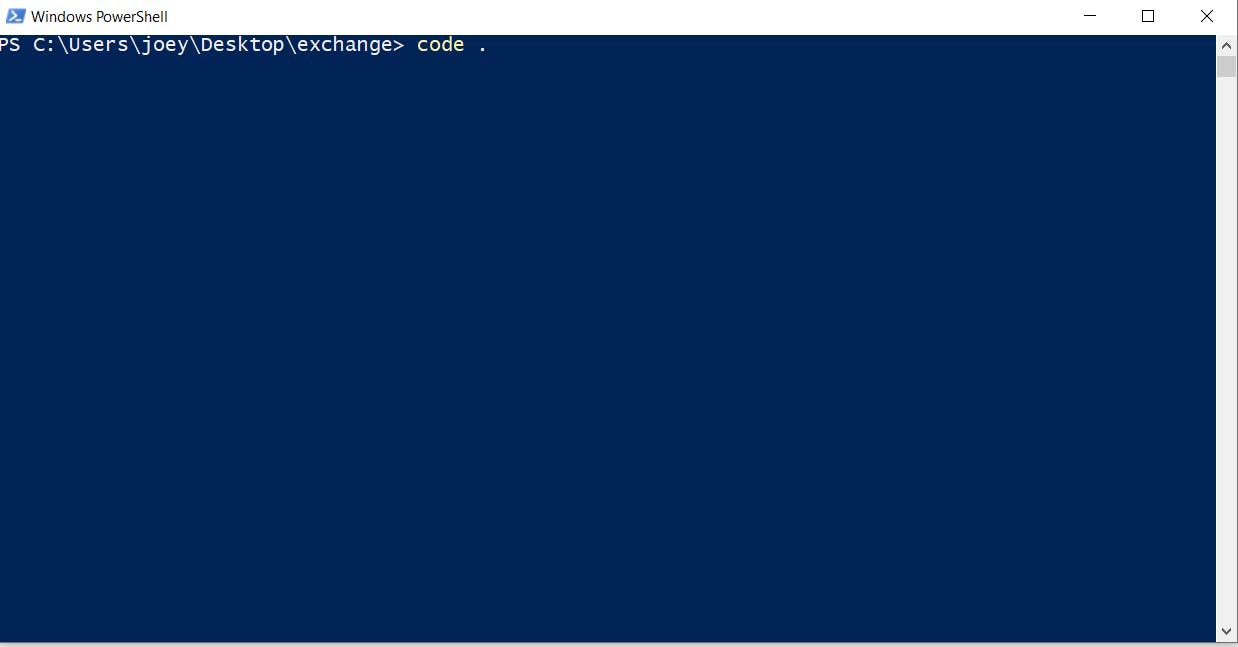 Caption: Launching Visual Studio Code
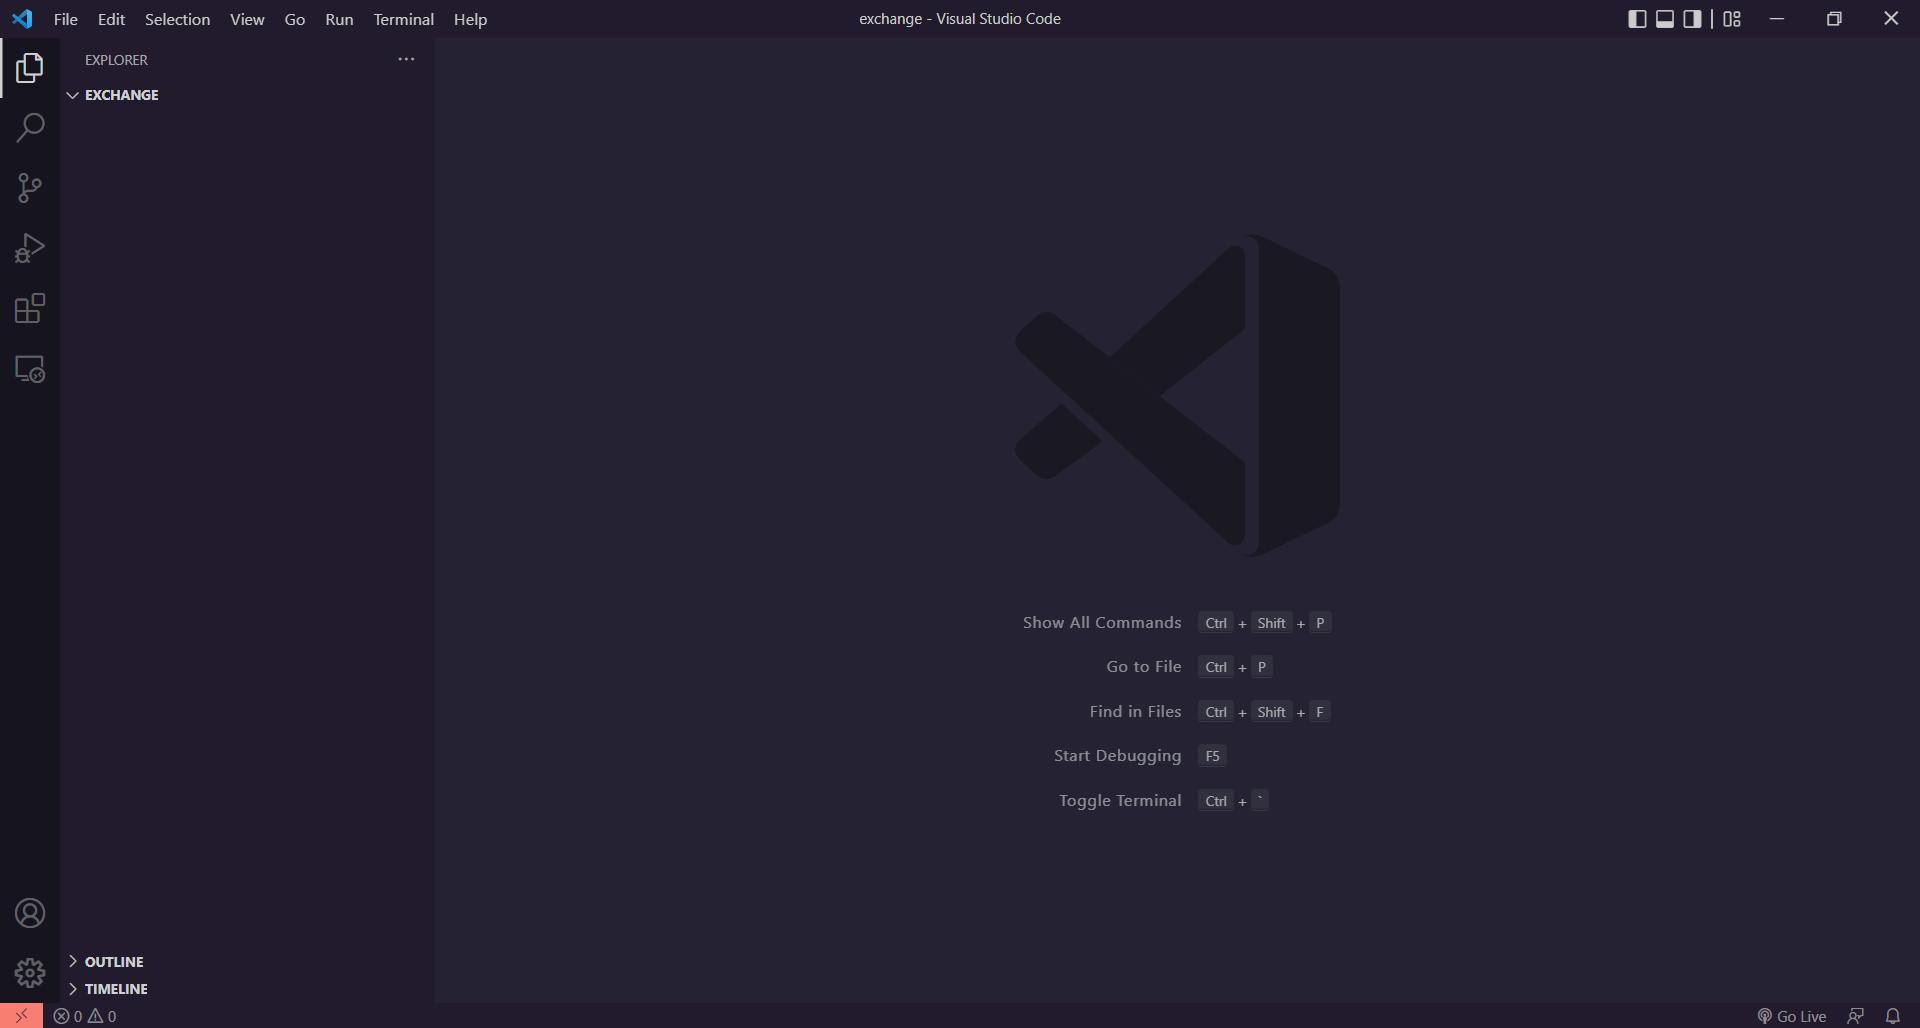 Caption: Visual Studio Code with the selected directory
Now, we need to launch the in-built terminal for VS Code, it provides all the features of our regular terminal plus the added convenience as you can launch as many terminals as you want, and you don’t need to switch between windows to write commands anymore.
To open a terminal in VS Code, go to ‘Terminal’ in the menu bar and click on ‘New Terminal’; this should open up a terminal window at the bottom. From here on, we can start writing our commands.
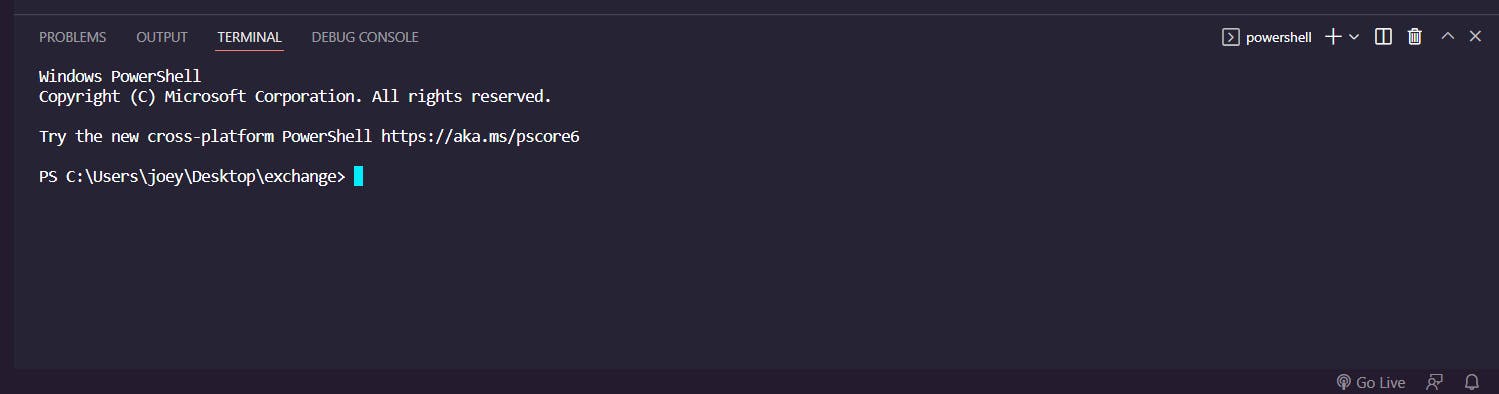 Caption: Opening VS Code terminal
Bootstrapping An OpenDAX Project
OpenDAX is available as separate tools and as a complete SDK. In the following series, we’ll make use of the OpenDAX NextJs template to set up our exchange. It is a Lego-like system and gives you complete freedom of customization.
To create an OpenDAX NextJs project, type the following command in the VSCode terminal, and hit enter.
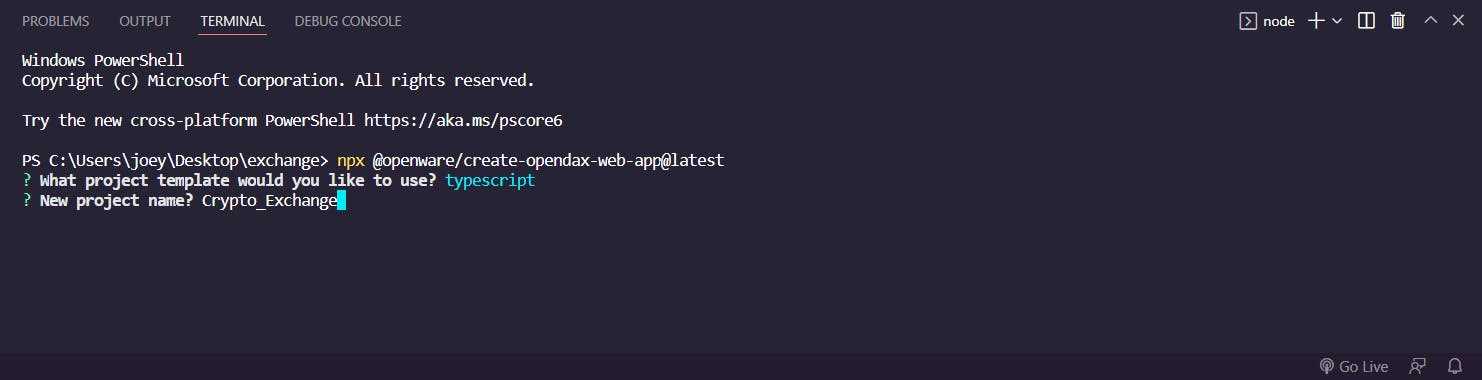
npx @openware/create-opendax-web-app@latest
 Caption: Starting the OpenDAX package
This will execute our package and will set up the template for us. After executing this command, NPM will prompt you for the project template; here, we’ll keep the default option which is typescript. We are also asked for the name of our project; you can name it however you like. For the sake of this tutorial, we’ll call it ‘Crypto_Exchange.’
 Caption: The starter crypto exchange template
This process takes a while to complete, and by the end, we are left with our project’s folder. And while all these files may seem overwhelming, we don’t have to deal with them all.
Starting The MockServer
Our OpenDAX template is just the frontend interface. To actually make it functional, we need to have some sort of backend server to feed the data. That said, the OpenDAX backend is a heavy software and requires time and a lot of resources to set up.
Luckily for us, though, we have something called a ‘mock-server,’ which, as the name suggests, is an imitation of a real server. It will help populate our exchange with fake data so that we can conveniently work on customizing the front end without having to start a complete platform.
To start a mockserver, open a new terminal in VSCode for the project directory, and type:
npm explore @openware/opendax-web-sdk -- npm run mockserver
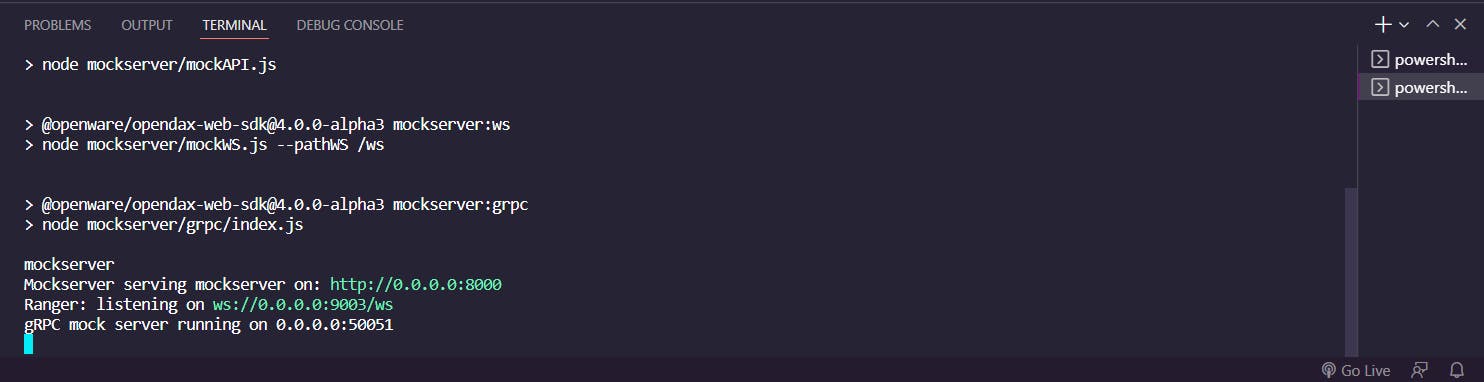 Caption: Starting OpenDAX backend
This spins up a mock-server at the given addresses. Notice how on the right side of this image, we have two terminals now. We have used the second terminal for spinning up our mockserver, and the first terminal is now going to be used to start the frontend.
Starting The OpenDAX Frontend
With our mockserver in place, it is finally time to start our frontend to visualize our app. To start the frontend, switch back to the first terminal and execute the command:
cd Crypto_Exchange
This will change the directory to our project’s directory, where we can finally run the command to start the frontend.
To start the frontend, enter the command:
npm run dev
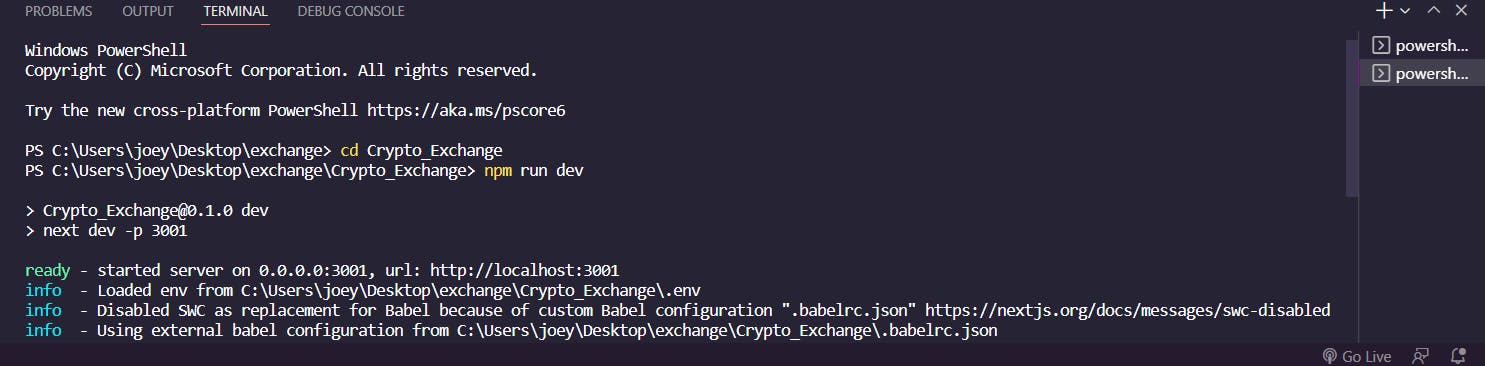 Caption: Launching the OpenDAX frontend
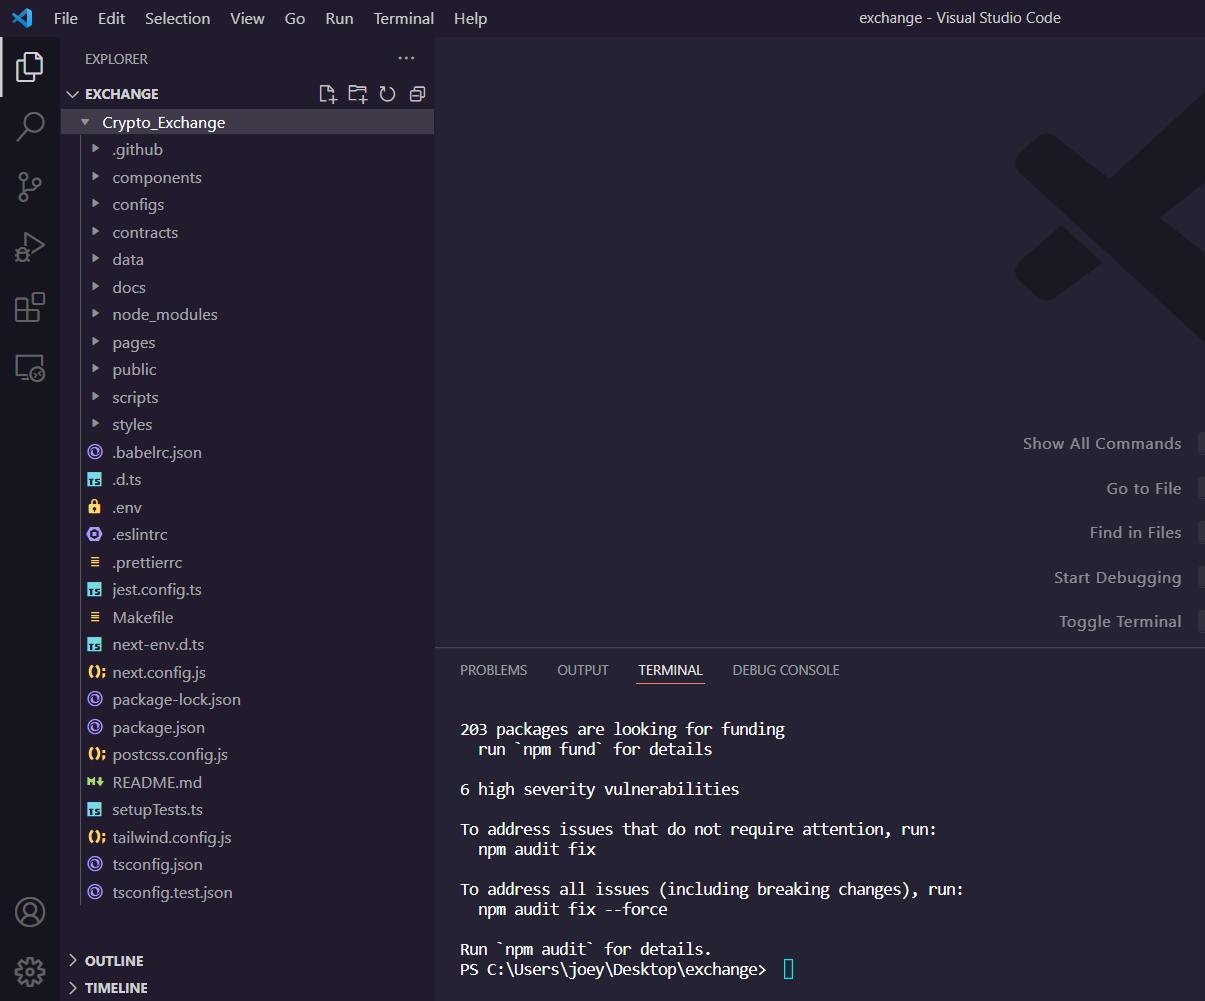
It will start the process of spinning up our frontend, which can take a couple of minutes to complete. At the end of this process, we will have our project running at localhost:3001 which we can navigate to see our project live.
 Caption: The Interface
And there we have it, a trading interface complete with an orderbook and an extensive chart that is similar to the trading view’s own chart. Here you can create your own indicator or choose from a library of indicators.
Conclusion
We’ve come to the end of this tutorial and have successfully set up our exchange’s frontend using the OpenDAX NextJS template, complete with dummy data from a mockserver.
I will keep going through the OpenDAX software stack, and in the next few articles will be majorly focused on customizing our frontend, understanding NextJs, and then finally connecting it to a real backend to make a complete Crypto brokerage software.
I hope you enjoyed this tutorial. If you have any questions or have trouble sleeping - feel free to reach out :) See you in the next article where we plug the liquidity from Yellow Network into our new cool crypto exchange!
Learn Web3 & Dive into DeFi with Yellow Network!
Yellow powered by Openware is developing an unprecedented worldwide cross-chain P2P liquidity aggregator Yellow Network, designed to unite the crypto industry and provide global remittance services actually helpful to people.
Are you a crypto developer? Check out the OpenDAX v4 white-label cryptocurrency exchange software stack on GitHub, designed to launch market-ready crypto exchange brokerage platforms with a built-in liquidity stream.
Join the Yellow Community and dive into the most product-oriented crypto project of this decade:
- Follow Yellow Twitter
- Join Yellow Telegram
- Check out Yellow Discord
- Read more exciting articles on Yellow Network Medium blog
- Find us on Hacker Noon
Stay tuned as Yellow Network unveils the development, technology, developer tools, crypto brokerage nodes software, and community liquidity mining!